The part can be found here.
ZZP TB Spacer
It comes with everything you will need for the install except an extra gasket (if you do not want to use the RTV) and you will probably want to pick up a 45mm long m6 bolt to replace the bolt on the top or a m6 nut and use the stud they provide. i didnt have any trouble finding a nut to fit that stud
heres what you get from them:
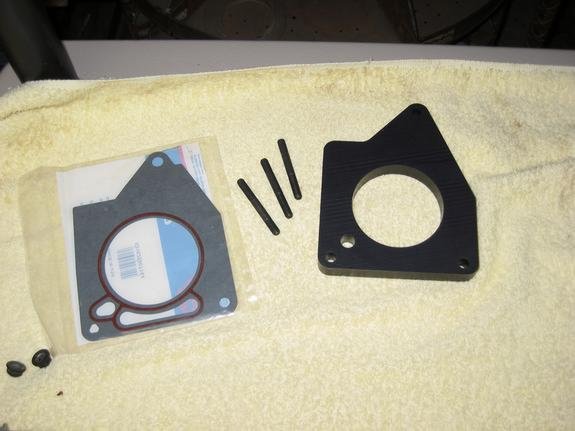
Obviously the RTV isnt pictured, but is included,
the part number for another gasket is ****_________**** if you decide to go that route.
first thing you want to do is unhook the battery, then unhook all the electrical stuff from the TB. There should be two on the left side.
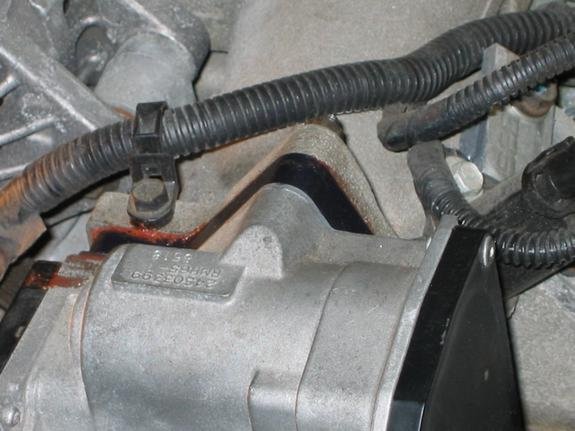
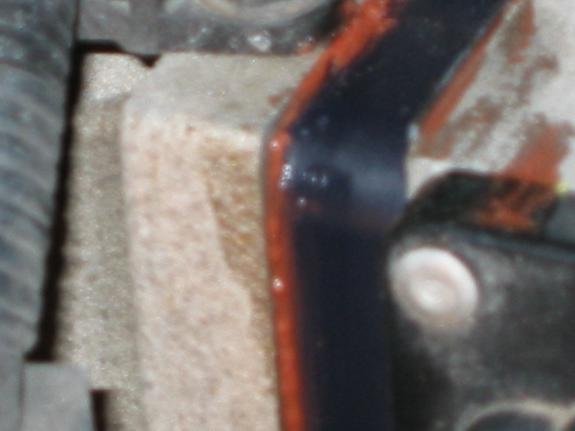
Now you should be prepared to spill coolant everywhere. make sure you cover this sensor
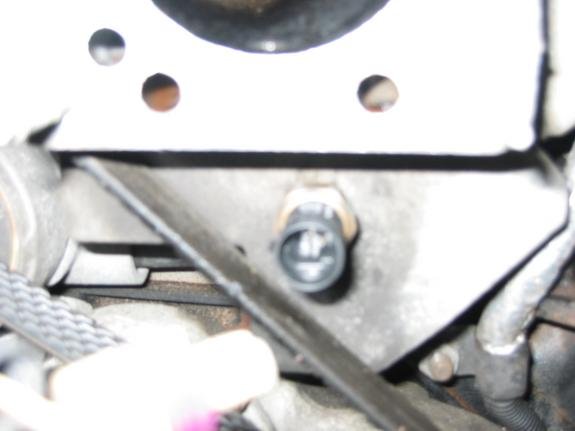
the floor, and anything else you can. This is the mess i made
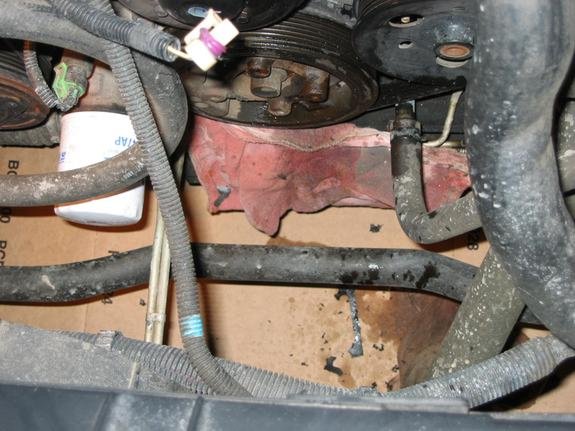
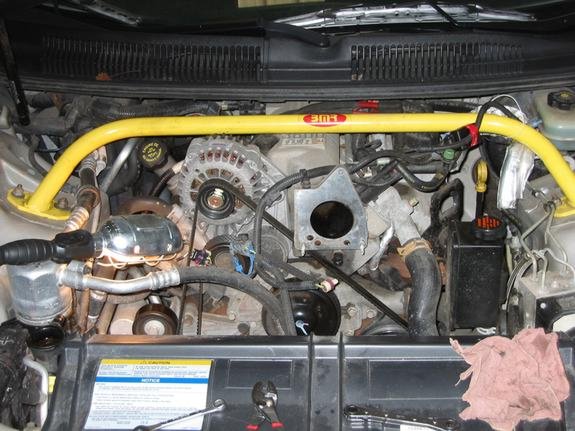
Next, there are two nuts on the bottom and a bolt in the top, take them out, and pull the TB off. this is what you should be looking at.
now you have to get the old bottom studs out, i suggest using the two nuts you took off of them and use the "double nut" way to get them out. Dont ask me how to explain it, i just did it; some WD40 will help.
clean off the old gasket if some is stuck to the throttle body, i used a razor to do this.
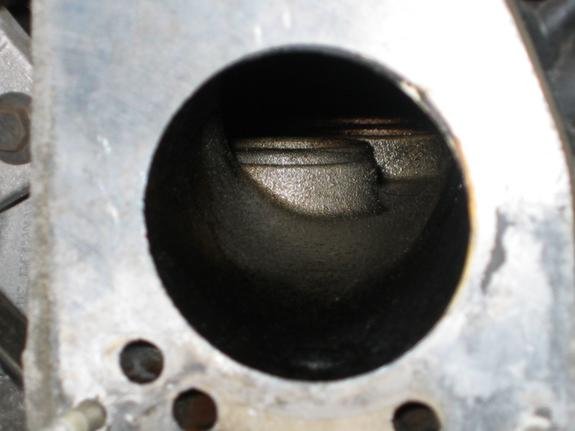
Time to put the new studs in, the shorter threaded half of the stud goes into the holes, just put them in using one of the nuts to tighten them in.
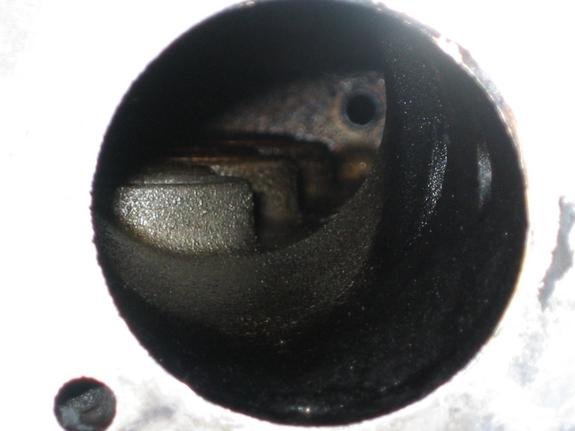
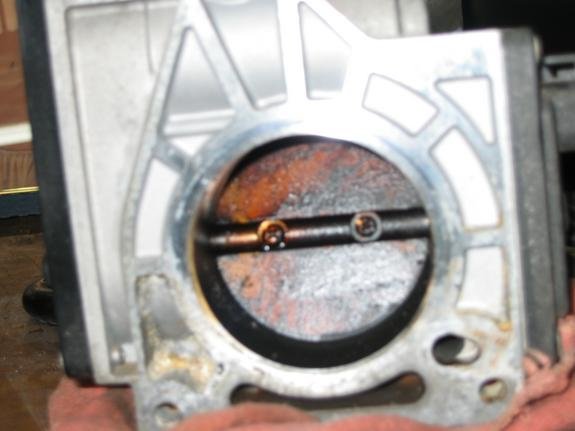
At this point, i took a rag and cleaned out all the black crap that had accumulated in the front of the TB with a rag, and also on the TB blade
[ March 05, 2005, 10:33 AM: Message edited by: FirebirdGT ]
ZZP TB Spacer
It comes with everything you will need for the install except an extra gasket (if you do not want to use the RTV) and you will probably want to pick up a 45mm long m6 bolt to replace the bolt on the top or a m6 nut and use the stud they provide. i didnt have any trouble finding a nut to fit that stud

heres what you get from them:

Obviously the RTV isnt pictured, but is included,
the part number for another gasket is ****_________**** if you decide to go that route.
first thing you want to do is unhook the battery, then unhook all the electrical stuff from the TB. There should be two on the left side.
Now you should be prepared to spill coolant everywhere. make sure you cover this sensor

the floor, and anything else you can. This is the mess i made

Next, there are two nuts on the bottom and a bolt in the top, take them out, and pull the TB off. this is what you should be looking at.

now you have to get the old bottom studs out, i suggest using the two nuts you took off of them and use the "double nut" way to get them out. Dont ask me how to explain it, i just did it; some WD40 will help.
clean off the old gasket if some is stuck to the throttle body, i used a razor to do this.

Time to put the new studs in, the shorter threaded half of the stud goes into the holes, just put them in using one of the nuts to tighten them in.
At this point, i took a rag and cleaned out all the black crap that had accumulated in the front of the TB with a rag, and also on the TB blade


[ March 05, 2005, 10:33 AM: Message edited by: FirebirdGT ]


Comment