TA Hatch Installation - FirebirdV6.com/CamaroV6.com Message Board

Announcement

Collapse
No announcement yet.

TA Hatch Installation

Collapse
This is a sticky topic.
X
X
 
  • Filter
  • Time
  • Show
Clear All
new posts

  • TA Hatch Installation

    ok......youll need two people to do this.

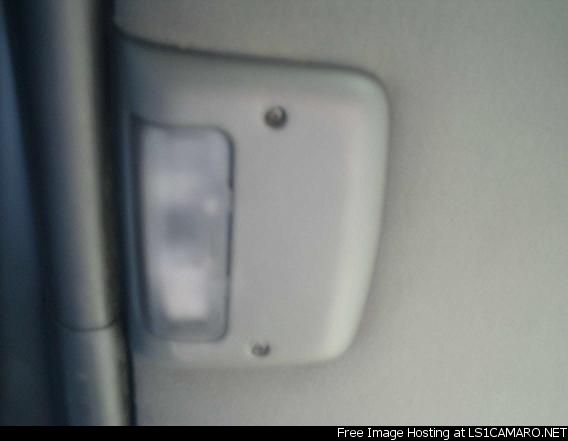
    -first thing you have to do is get into your backseat, and unscrew this

    -once that is unscrewed pull back the cloth/insulation and youll see a mess of wires.

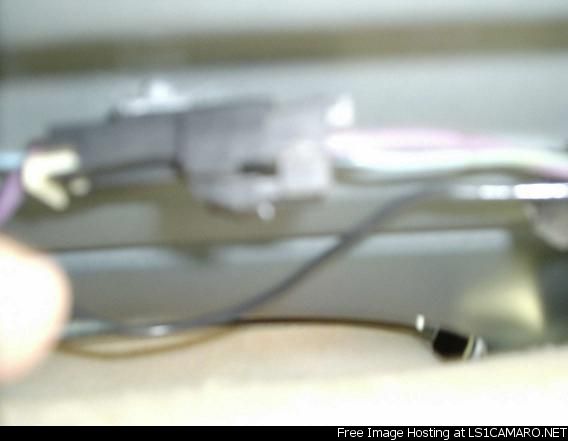
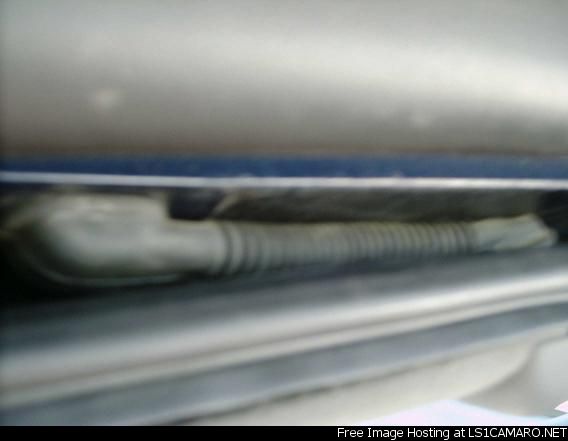
    -locate this clip
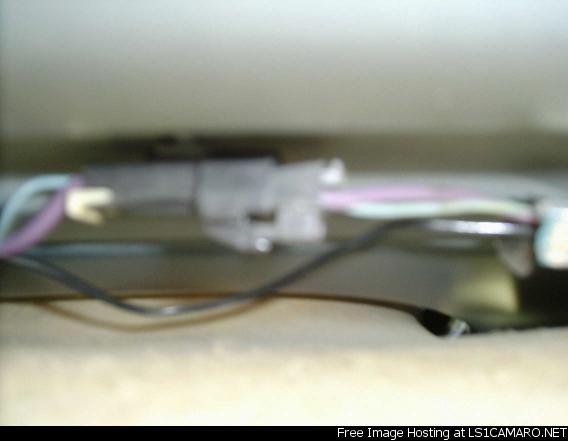
    this is your third brake light, and defroster set of wires.

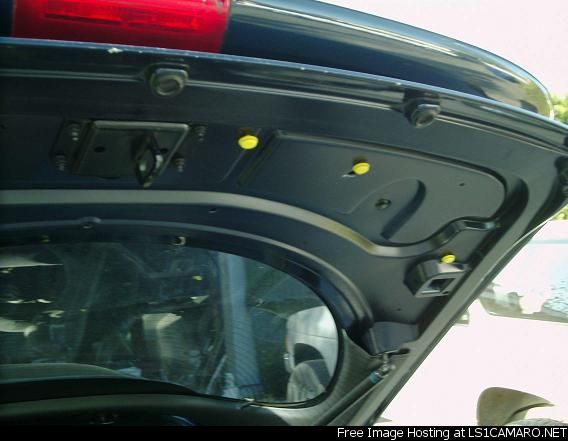
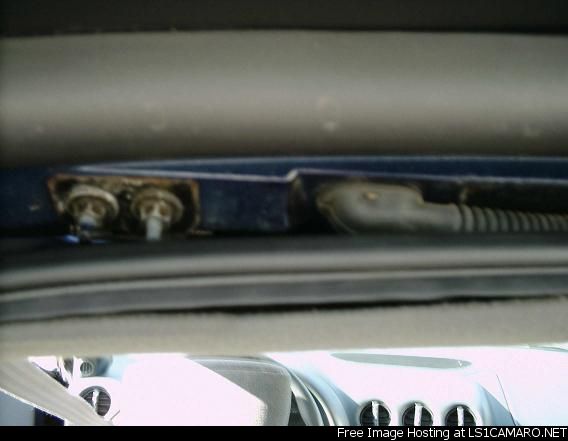
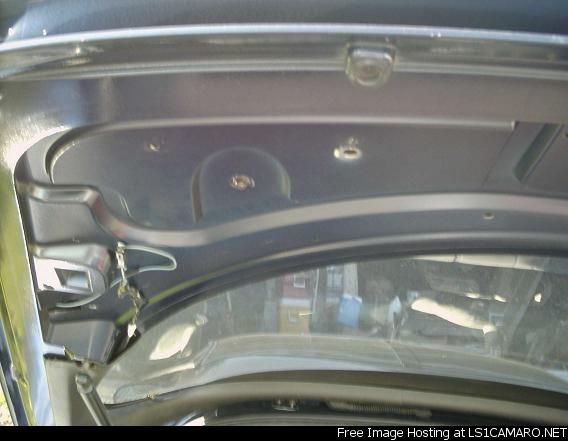
    -once the clip is disconnect begin to unbolt the 4 bolts that attch the hatch to the car. two shown here


    - your next task is to detach the hatch struts. these are really easy.
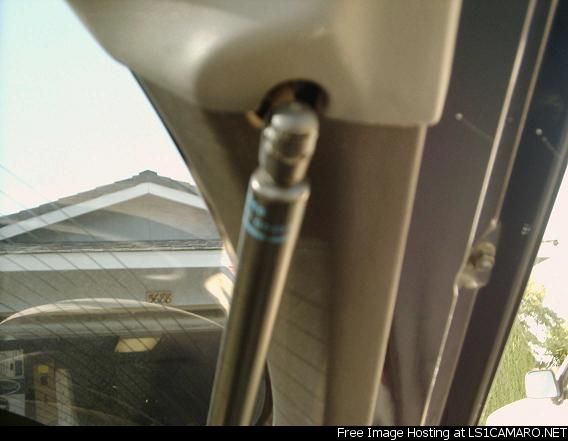

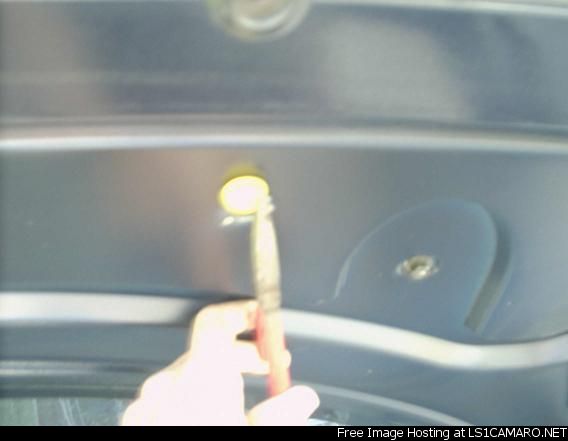
    - the easiest way ive found to take these of is to have a nail handy. all i do is insert the nail inderneath the clip of the strut, and gently lift up.
    as so:
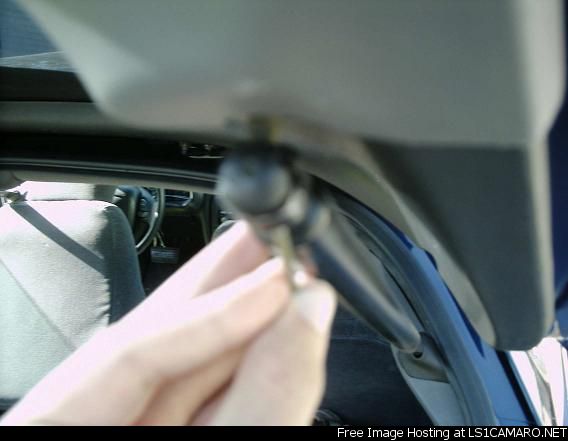
    (make sure you dont take the clip all the way off, because they are a pain the the A$$ to get back on.)

    [ February 12, 2005, 12:44 PM: Message edited by: Stefan ]
    I guess I\'d have answer your question with another question.<br /><br />How many Abidiginals do you see in modeling??????<br /><br />headers, 3inch magnaflow cat, Loudmouth<br />99 Midnight Blue Firebird<br />3.8L A4

  • #2
    now that all the old stuff is detached you can lift the hatch off the car and set it down somewhere else.

    now time to install the new hatch. guide the hatch to where its supposed to be.

    -first bolt up the hatch (so you dont have to have it open the whole time.)

    -next you will have to guide this piece of rubber (dont know what its called) into position. this thing should have your third brake light and defroster wires/clip.)


    -there should be a hole/opening where you can guide the wires back into position.

    -attach your new clip to the correct place (where you disconnected your old one)
    again shown here:

    (sorry for being blurry)

    -once you have your wireing in place your should go ahead and re-attach your shocks. this time you shouldnt have to use the nail to lift the clip. they just slide back on.

    you now have your hatch onto the car. the next step will be installing the interior trim (if it isnt already installed.


    gimme a few to go take pics.

    [ February 12, 2005, 12:46 PM: Message edited by: Stefan ]
    I guess I\'d have answer your question with another question.<br /><br />How many Abidiginals do you see in modeling??????<br /><br />headers, 3inch magnaflow cat, Loudmouth<br />99 Midnight Blue Firebird<br />3.8L A4

    Comment


    • #3
      now for the interior install (if needed)

      this is if you are taking the plastic trim off your old hatch and installing it on your new TA hatch.

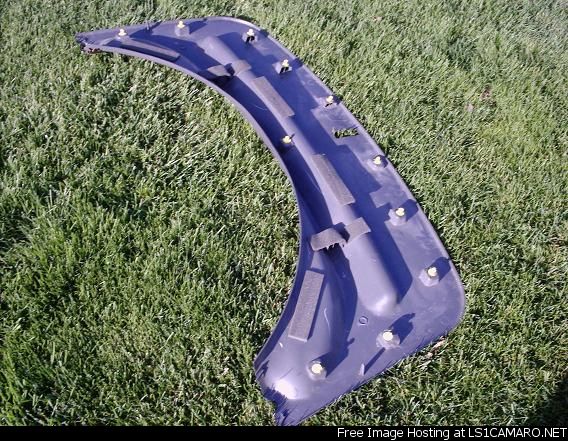
      - on your old hatch start in the corner of the largest piece. get your fingers underneathe and slowely start to pull away. there are yellow clips or fasteners that hold the trin to the hatch itself.

      - once you have pulled the trim off you may notice that a few of the clips didnt come off.


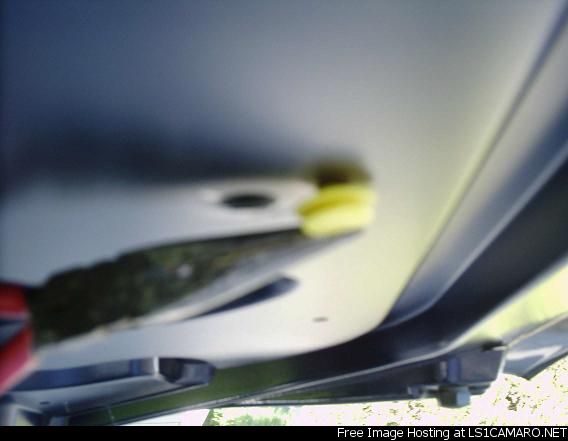
      thats ok, go into your garage and get a pair of needle nose pliers.


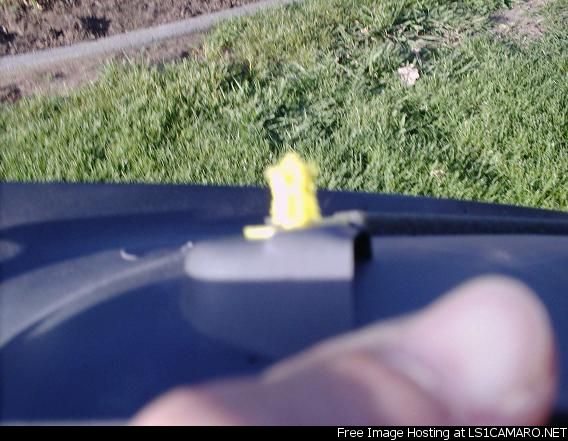
      when removing these yellow clips it helps to give the a wiggle every now and then, cause they are tough as hell to get out. do worry if when you pull some out that they look fugged up, they are still useable.

      -the next part would be putting the yellow clips back into the interior trim. they are very simple to put in. they just slide in


      make sure you have all of the in there


      - reinstalling them is 10x easier than taking them out. just line em up with the holes that are left.


      before you install the large piece you should have taken all the trim out of your old hatch (i just didnt want to take all of mine out)

      and your done!


      [ February 12, 2005, 12:47 PM: Message edited by: Stefan ]
      I guess I\'d have answer your question with another question.<br /><br />How many Abidiginals do you see in modeling??????<br /><br />headers, 3inch magnaflow cat, Loudmouth<br />99 Midnight Blue Firebird<br />3.8L A4

      Comment

      Latest Topics

      Collapse

      FORUM SPONSORS

      Collapse
      Working...
      X