Quick Radiator/Coolant Flush (w/ pics) - FirebirdV6.com/CamaroV6.com Message Board

Announcement

Collapse
No announcement yet.

Quick Radiator/Coolant Flush (w/ pics)

Collapse
This is a sticky topic.
X
X
 
  • Filter
  • Time
  • Show
Clear All
new posts

  • Quick Radiator/Coolant Flush (w/ pics)

    Well I decided since the weather is supposed to be in the mid 90's all week that my coolant needed to be top priority. I changed my oil and I am changing my rear differential fluid/gasket tomorrow so today I decided to flush the coolant. This is my 1st writeup of any kind so please be kind. Any suggestion or comments on your process would be great.

    I know this isn't a complete flush but for any noob looking to get a small flush for a cheap price then this is for you.

    1. Make sure the engine is cool and turned off. You want to pop the hood and open the radiator cap as shown.
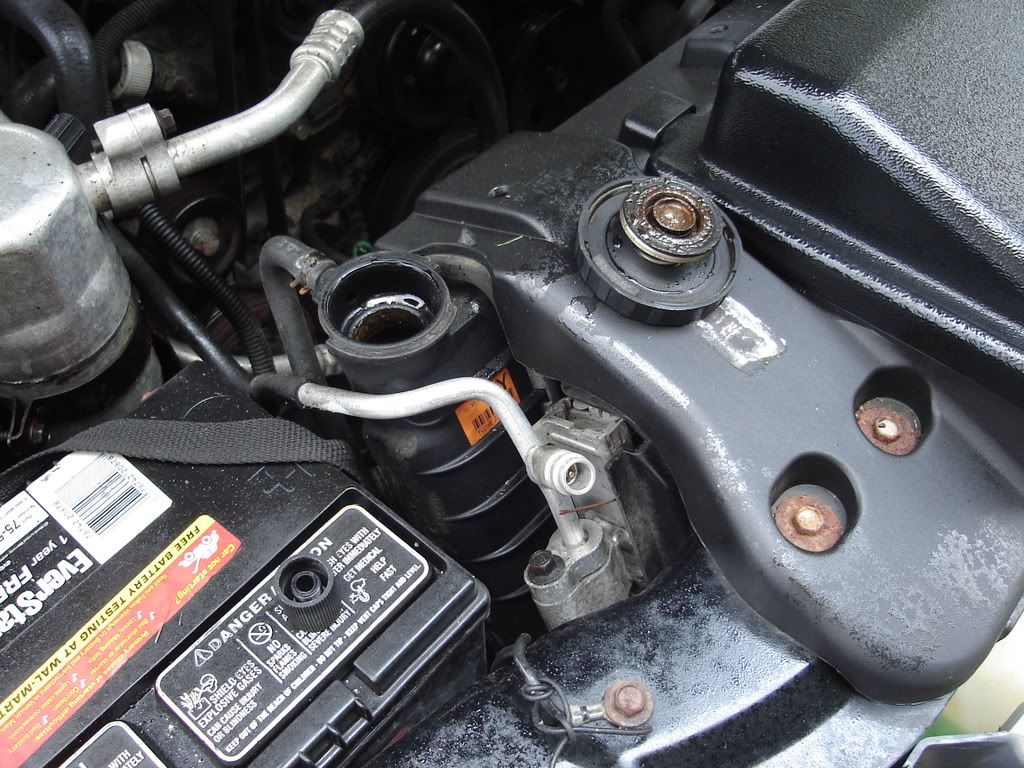


    You can see the inside and how bad your coolant may be. Mine looked pretty bad and the flush I did probably only prolonged the damage but its the best I can do at this moment with the little time I had today.

    2. Jack the car up enough to get under the front to reach the drain plug. Its best to use more than one jack and use jack stands. I didn't but I also did this from the comfort of my apartment complex parking lot :)
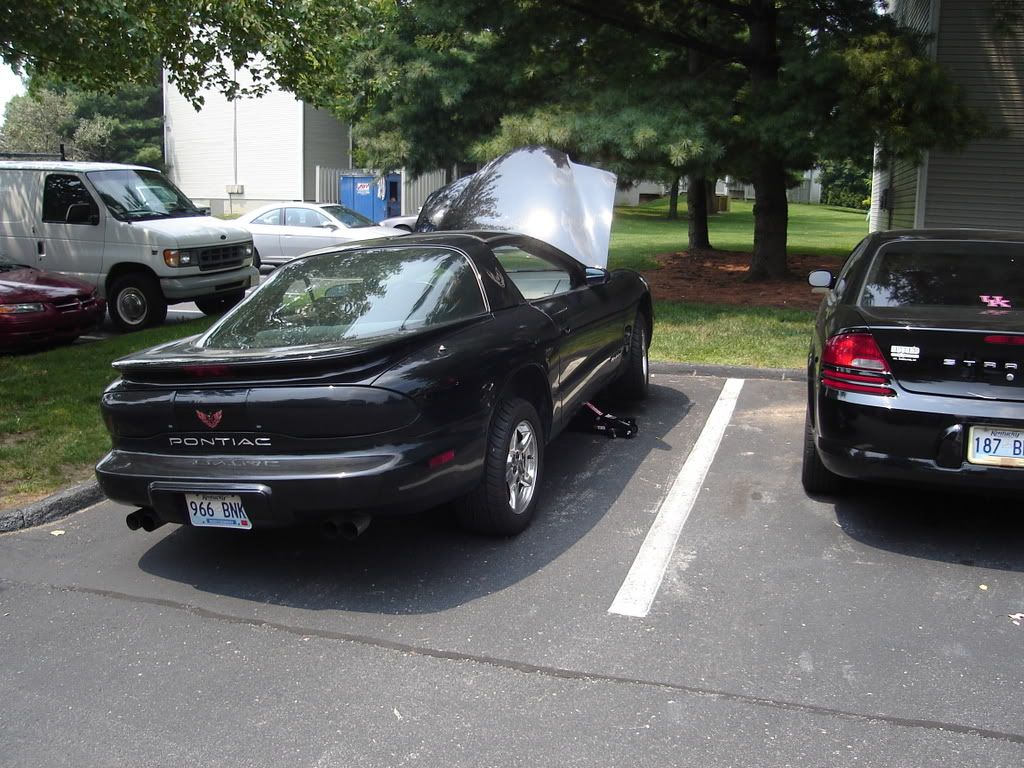


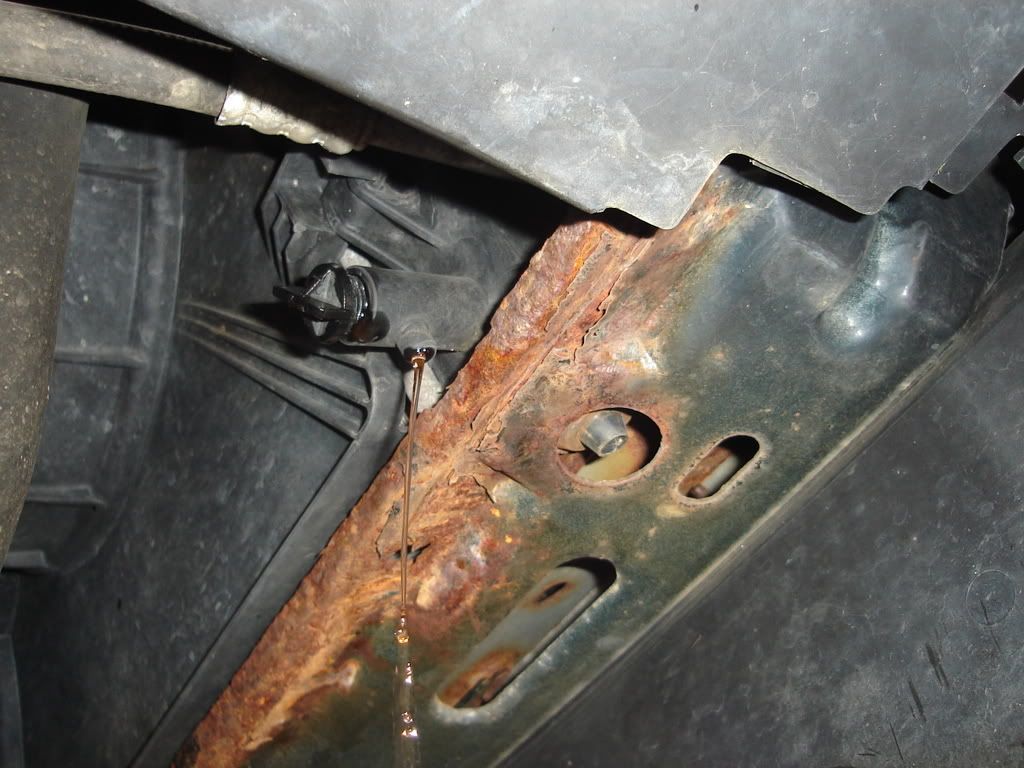
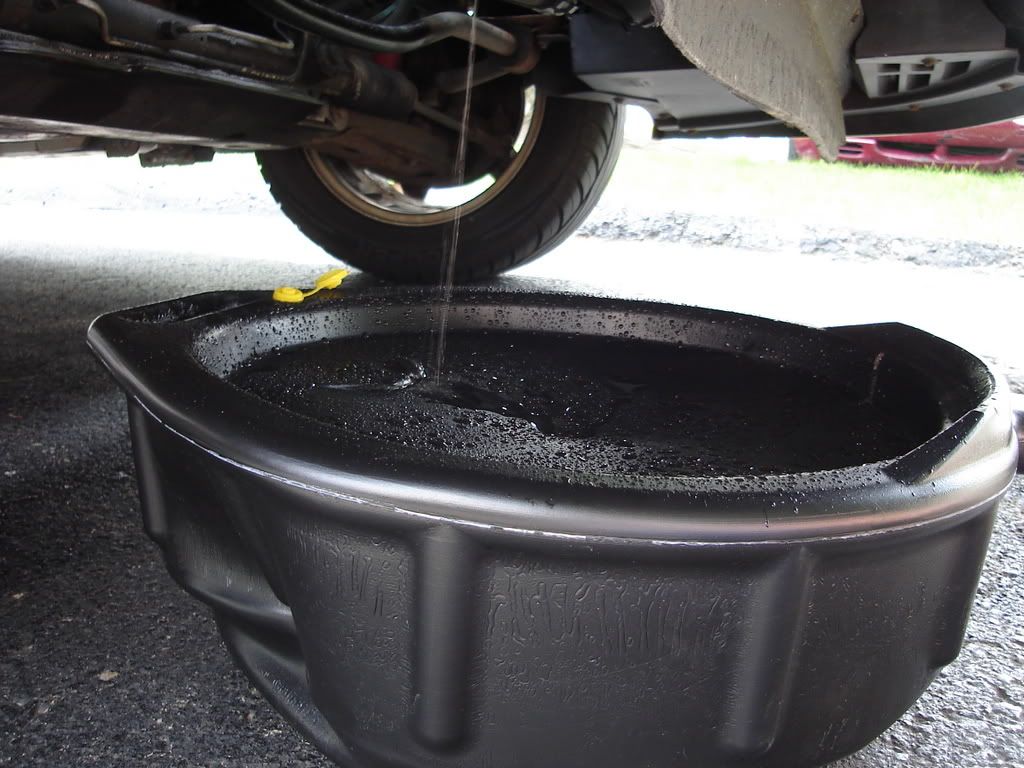
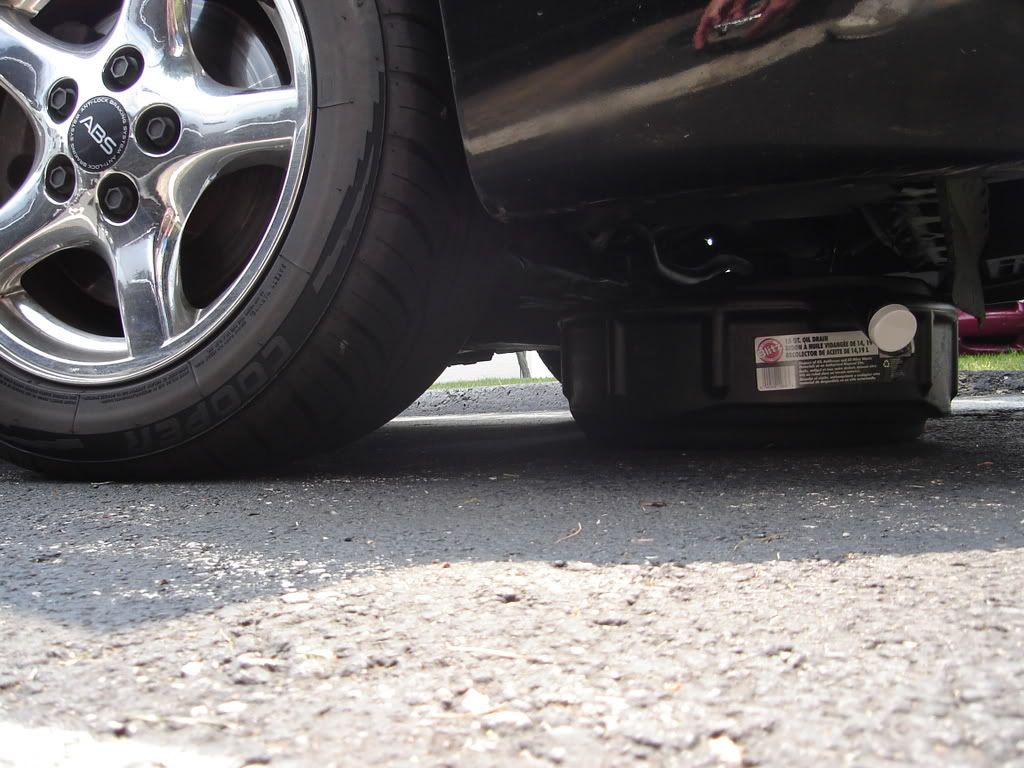
    3. The drain petcock is located on the passenger side of the car. After jacking up the car, grab a pan of some sort to catch the coolant. I bought this cheap one from walmart and it did great.

    The petcock may be hard to turn at first so I used a monkey wrench just to loosen it up. Once you start turning it, make sure the pan is located below to catch the coolant. Nobody want antifreeze dripping in their driveway, especially if you have children or animals around!
    Last edited by josh98bird; 08-04-2007, 09:48 PM.
    Welcome future UK stars... Darius Miller, Deandre Liggins, Kevin Galloway, Josh Harrellson

  • #2
    Re: Quick Radiator/Coolant Flush (w/ pics)


    I never have changed the coolant before, but I have changed the oil. You can imagine how I felt when climbing under the car for the first time awhile back and seeing the rust :(


    4. after the coolant has drained you will want to lower the car since its not level and more fluid will be located on the passenger side.


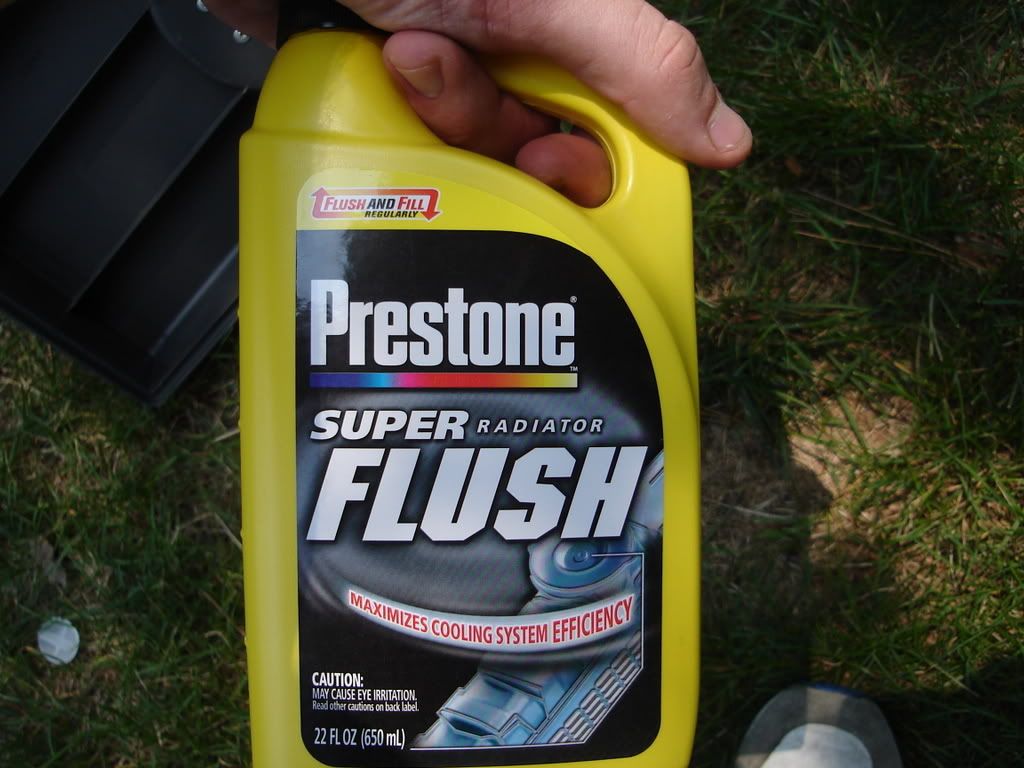
    Once there is no more coolant coming out of the petcock, jack the car up, tighten the petcock and lower the car once more. Go back to the radiator cap and fill with your choice of cleaner/flush. The choice is up to you...
    Welcome future UK stars... Darius Miller, Deandre Liggins, Kevin Galloway, Josh Harrellson

    Comment


    • #3
      Re: Quick Radiator/Coolant Flush (w/ pics)


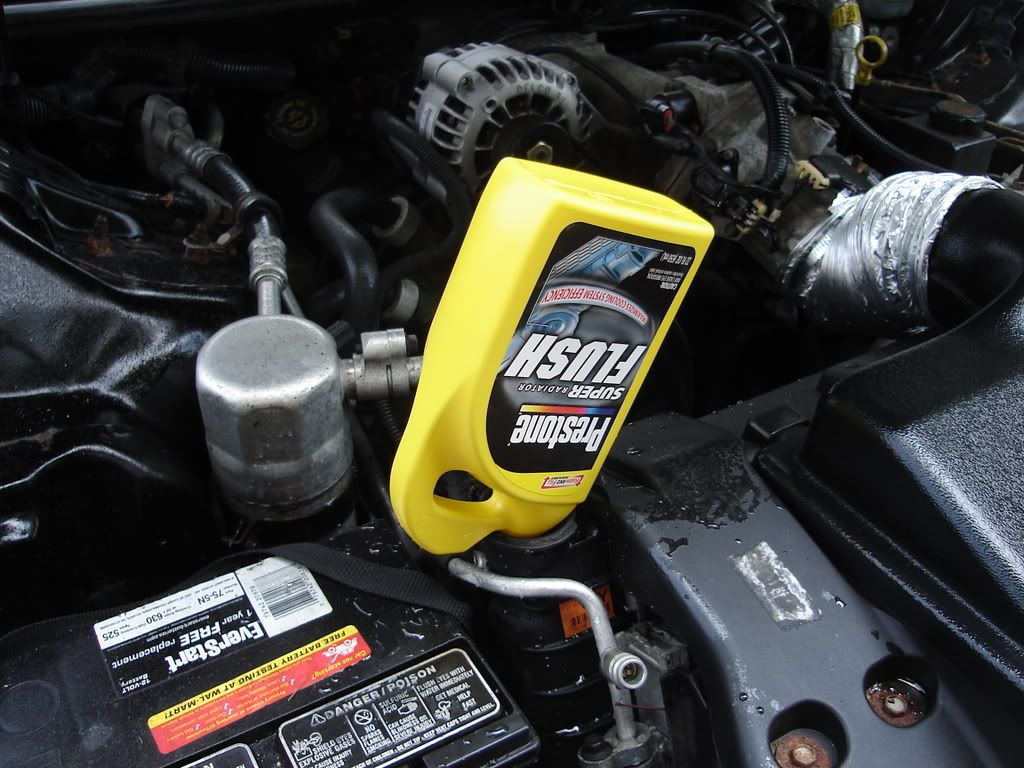
      walmart and advance have cleaners and flushing agents. I chose the flush since they where out of stock on the cleaner. Poor the flush into the radiator, again reminding you to close the petcock, otherwise just poor the cleaner into the drip pan.


      Once you have poored this into your radiator (you may want two bottles of it) top the rest of the radiator off with water. I chose distilled water since I've heard its better then non-distilled water. Supposedly you won't be filling the system with minerals that are in most water sources. I used about 3 gallons but if you want to use tap water then by all means its your choice. Once the coolant system is full of water and cleaner you will want to start the car and let run for 10 minutes or so. During this time I poured more water into the coolant since some will be sucked in once you start the car. Close the radiator cap and use this time to smoke, tell a joke, listen to music, clean the car, or have a cold one :drool:

      Last edited by josh98bird; 08-04-2007, 09:46 PM.
      Welcome future UK stars... Darius Miller, Deandre Liggins, Kevin Galloway, Josh Harrellson

      Comment


      • #4
        Re: Quick Radiator/Coolant Flush (w/ pics)

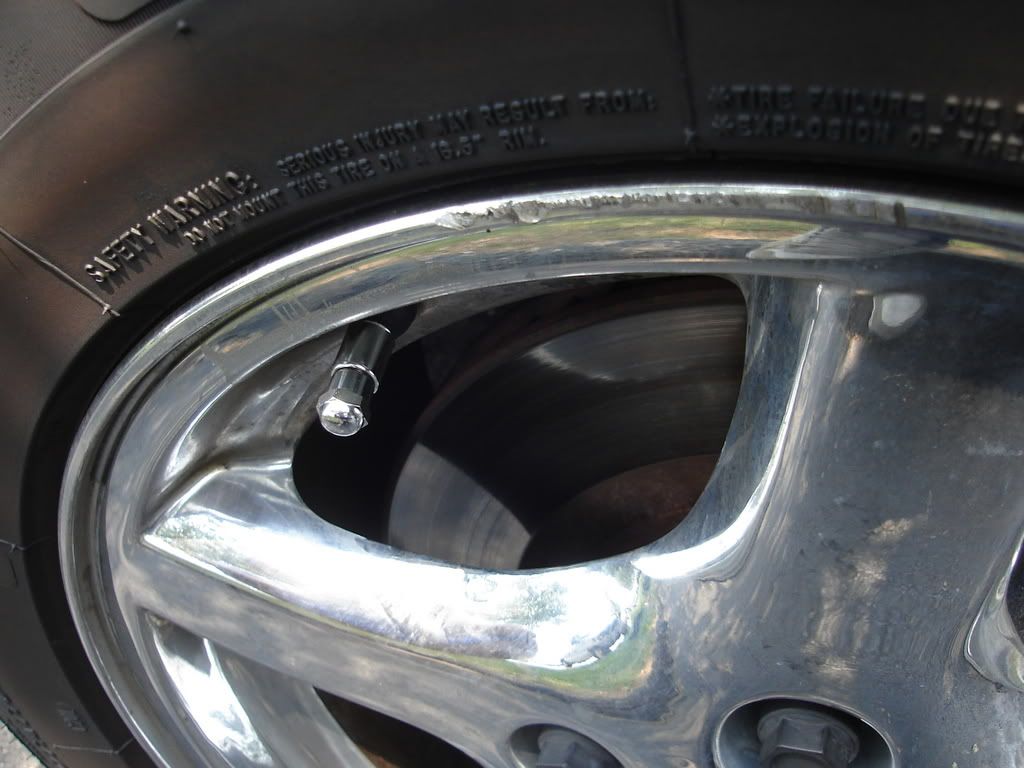
        I also used the time to replace my valve stems with chrome ones


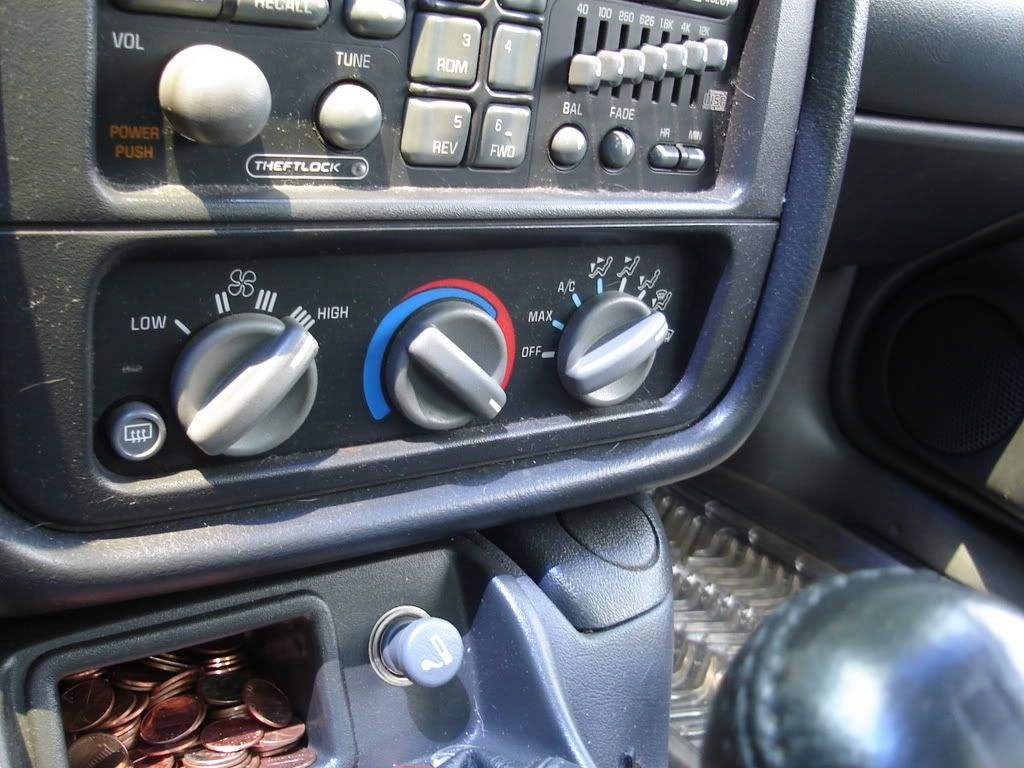
        5. Once the car has reached high operating temperature, turn the heat on highest speed. Let it run a bit longer and then turn the car off. Once again it needs to be cool before you take off the radiator cap. Otherwise get ready to be burned or have cleaner/water/coolant left over flowing everywhere.


        6. Once the engine is cool again, repeat the draining process once more. After draining this time (and leveling car again to get it all out) I chose to pour more water into the system to flush out any coolant sitting in the system. I did this while the petcock was open.

        7. Fill the system again with petcock closed, but this time with only water. Let the engine run and warm up with the heat on high. After doing this, you will follow again by draining everything back out of the system. I know you are tired of jacking up the car and such but its not that bad considering how much money you are saving.

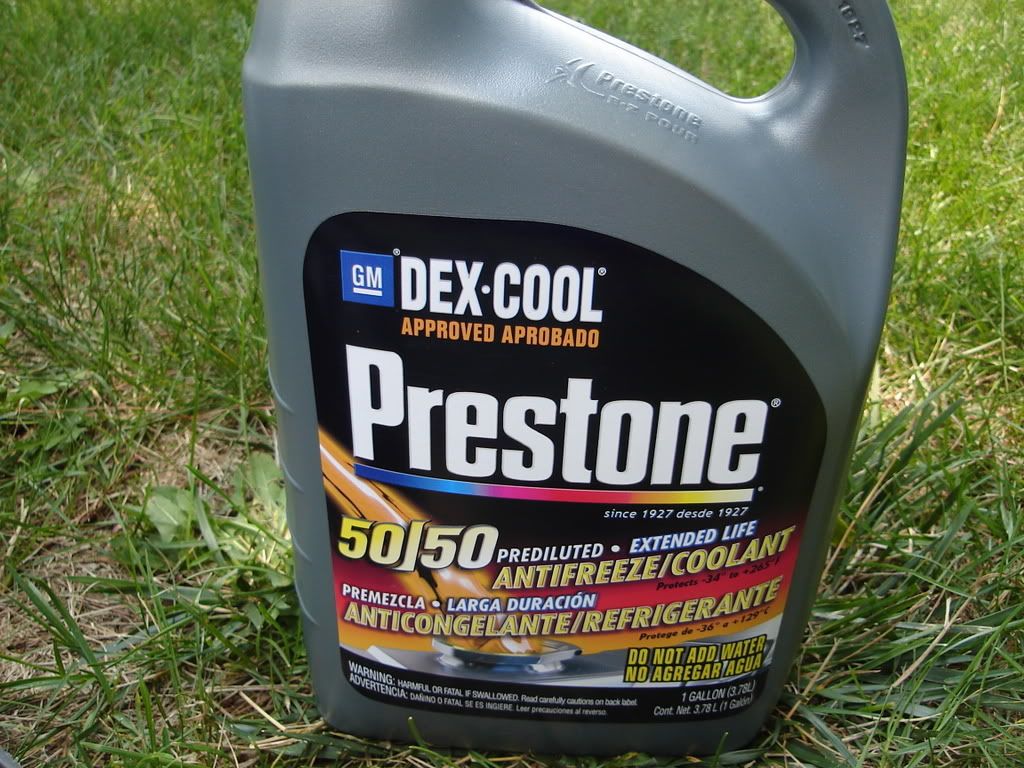
        8. Now after letting the engine cool once more, its time to add your new coolant. I decided to stay with what I always use on my other cars. I don't know what was used before (from the looks it was dexcool) but I decided to go with this :tup:


        It is already premixed so no water is needed. Fill the system with the coolant of your choice. I filled it until I could see the fluid about 1 inch below the cap area. Start the car and fill into the radiator more until its full. You may also want to pour a small amount into the coolant overflow.
        Welcome future UK stars... Darius Miller, Deandre Liggins, Kevin Galloway, Josh Harrellson

        Comment


        • #5
          Re: Quick Radiator/Coolant Flush (w/ pics)

          9. There is a valve located near the radiator cap that will bleed the air out of the system. Just simply bleed the system until there are no more bubbles. You may want to pump the throttle a bit and fill as needed. Once the lower radiator hose is hot hen put the radiator cap back on and bleed once more. You may hear the air coming out, or you may not. Turn off the car and perhaps move it to a location that is dry (you might end up spilling water and coolant in the area you are parked in the first place. You want to move to a new spot that way its easier to check for leaks. )

          10. In the next 1-2 days you will want to check the coolant level and add more coolant if needed. You probably will add a very small amount, but check it just incase. Hope this helps anyone who wants to do a quick flush that costs about 30 bux if you count the coolant, water, beer, and drip pan. I know most places around here want to charge anywhere from 75 - 100 bux if not more.

          If you f up your car after doing this then I'm sorry but I'm not to blame. This is my process and on the 3 cars I've owned (all over 100k miles) I have not had one single coolant problem. This will not fully clean your system and is probably not the best way either. If you find that your coolant is like sludge then you will def want to take it somewhere to have it flushed by a professional. As far as doing a quick "do it yourself" then this should work fine. I know there are alot of question about the location of such things has the drain plug/petcock and the bleeding valve so I didn't feel that it would be a problem to just take some pics while I was working on the car. If you have a garage and more time then you may want to use more cleaner and triple the process but atleast doing this once will only benefit your coolant system.
          Last edited by josh98bird; 08-04-2007, 09:50 PM.
          Welcome future UK stars... Darius Miller, Deandre Liggins, Kevin Galloway, Josh Harrellson

          Comment

          Latest Topics

          Collapse

          There are no results that meet this criteria.

          FORUM SPONSORS

          Collapse
          Working...
          X