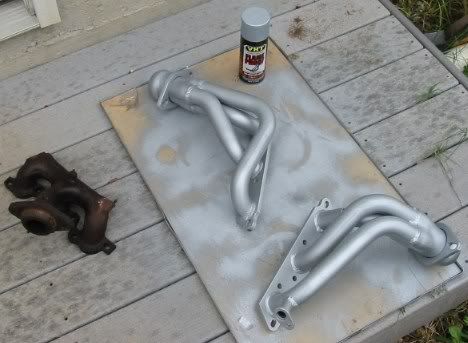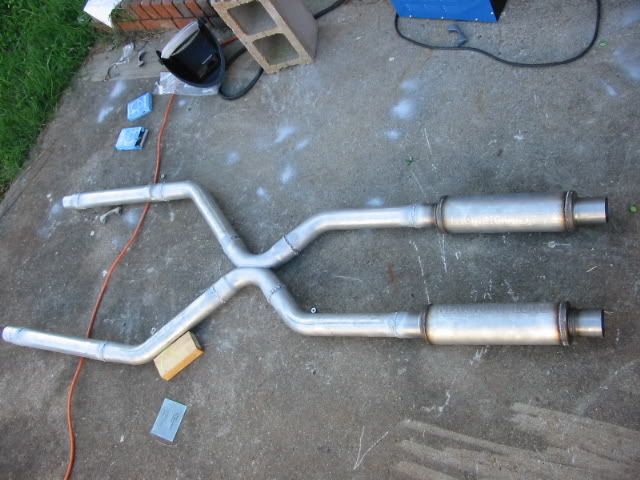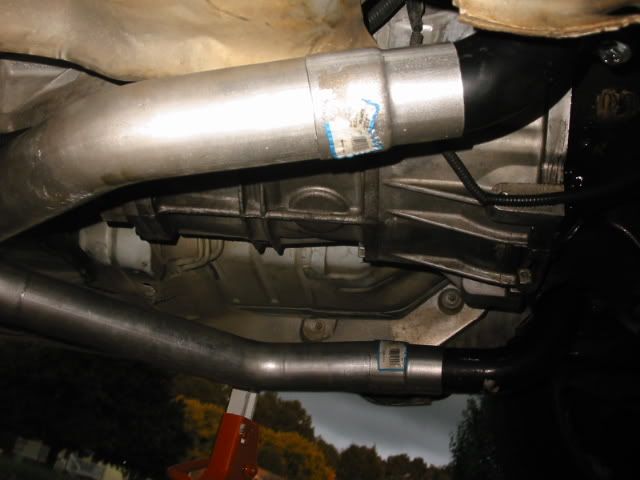
stock vs aftermarket

weird angle, but the bare exhaust valves

got the headers in place, and held them there with a hand tightened bolt

all done on that side! from the top
finally got some headers. went with pacesetters from summit $250 shipped (was at my door a little over a day from ordering too!)
figured id post up some pics and give some tips to anyone looking to do the install. ive only got 1 header on so far, but its turned out to be a hell of easier than i heard. took about 5 hours to remove and install one side, but i took my time.
tips/suggestions:
- remove the damned heat shields. probably the most annoying and time consuming part ive encountered.
- you dont have to remove spark plugs like it says, but id at least pull off the wires(make sure you number them so you dont get them mixed up)
- all i used was a wrench, 1/2" short and deep socket, 3/8" short and mid length extension, and the shortest swivel socket i could find. a breaker bar helps greatly in removing the bolts as well.
- SOAK THE BOLTS IN PB BLASTER THE NIGHT BEFORE! this makes the removal of the exhaust manifolds so much easier. it's best to remove the heat shields before this so you can really hit the bolts.
- take your time and use your head. some of the bolts are a pain to reach, but remember they WILL come off with the right combination of extensions and angel (and swivel too on 1 or 2 bolts)
- also, i bought the cheaper non-ceramic coated headers. i went to advance and bought a 2000 degree ceramic paint spray for $8, which looks and seems to be about the same thing. good way to save some money.
good luck!


Comment